Overview
Slack is a great channel to share dashboards and alerts. With Python and AI, creating a Slackbot catered to your specific needs has never been easier. Here are some examples of alerts and dashboards you may want to create:- Automated alerts based on a certain metric threshold. For example if your weekly active users drop by a certain percentage.
- Weekly marketing pipeline dashboards
- Lists of self-service onboarded users in the past 24 hours
Step-by-step guide to creating a Slackbot
This step requires admin access to your Slack workspace.
Step 1: Creating a Slack app and token
To create these alerts and scheduled Slack dashboards, we’re going to create a custom Slack app. Start by navigating to the Slack app API page and click Create New App. Follow these steps:- Opt in to Create from scratch
- Provide a name and the workspace you want the app to be added to
- Click Create App
- Under Scope and Bot Token Scopes click Add an OAuth Scope. If the bot is going to send messages to Slack, make sure you select the
chat:write.publicscope. This scope allows the app to write to publich channels they’re not a part of. If you need to add the app to private channels or chats, you will need to select additional scopes. - Under OAuth Tokens on that same page, click Install to your_workspace
- Once the app is invited to your workspace, take note of the token. Your token should start with
xoxb-. If it doesn’t, you may not have generated a bot token
Please handle tokens with care and never commit tokens to code repositories.
Step 2: Configuring your Slack message
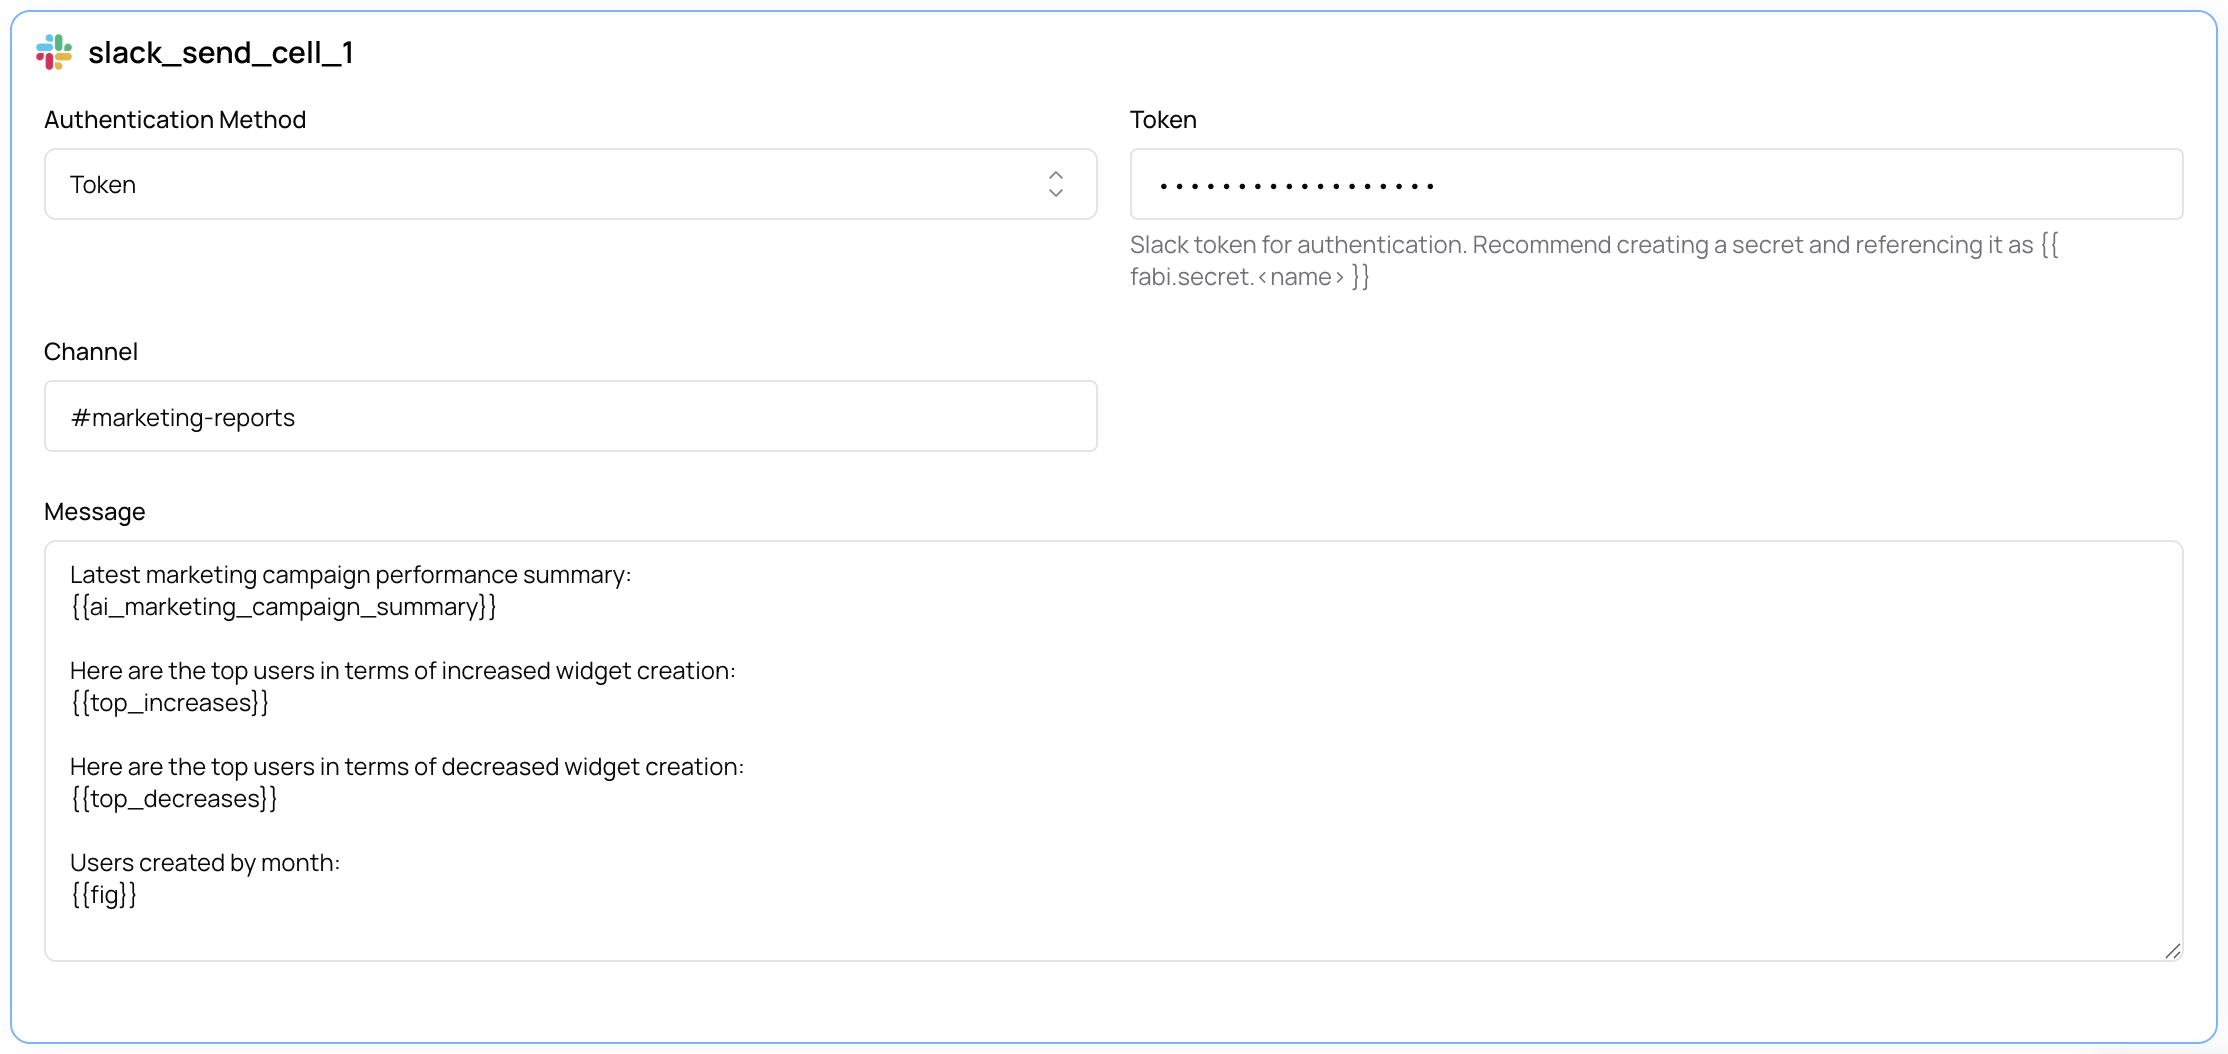
Now that you have your Slack bot token, we can configure the message you want to send to Slack.
- Insert a new cell in your Smartbook or workflow and select Slack Send
- Add your bot token to the Token input
- Compose your message and insert Python variables using
{{your_dataframe}}